
Kubernetes powered PaaS that runs in your own cloud. https://porter.run
 sunguroku
c50fa17a98
Update README.md
sunguroku
c50fa17a98
Update README.md
|
il y a 5 ans | |
|---|---|---|
| cli | 2f2f7dfce3 remove test file | il y a 5 ans |
| cmd | 771d66ff64 global redis stream listener | il y a 5 ans |
| dashboard | 7382f51862 feedback integrated | il y a 5 ans |
| docker | f1ac0e4b69 cli major update | il y a 5 ans |
| docs | ff17b95702 Create GCR.md | il y a 5 ans |
| internal | 9bb32f15af shade navbar on expandedchart | il y a 5 ans |
| scripts | e51a889bd1 update docs | il y a 5 ans |
| server | 97ab78d130 Merge branch 'main' into beta.3.provisioning-integration | il y a 5 ans |
| .air.toml | f1ac0e4b69 cli major update | il y a 5 ans |
| .darwin.goreleaser.yml | 55d41a804e fixes #110 | il y a 5 ans |
| .dockerignore | d7b83fb445 onboarding with default sqlite | il y a 5 ans |
| .gitignore | f4fa0e5d9f Merge branch 'master' into beta.3.deploy-agent | il y a 5 ans |
| .goreleaser.yml | 55d41a804e fixes #110 | il y a 5 ans |
| LICENSE | 1f483861ca add MIT license | il y a 5 ans |
| README.md | c50fa17a98 Update README.md | il y a 5 ans |
| docker-compose.dev.yaml | a5c69a1bda stream ephemeral provisioning logs (no XACK) | il y a 5 ans |
| go.mod | 771d66ff64 global redis stream listener | il y a 5 ans |
| go.sum | 771d66ff64 global redis stream listener | il y a 5 ans |
| package-lock.json | 05045fbbe3 parity with old form.yaml functionality | il y a 5 ans |
README.md
Porter

Porter is a Kubernetes-powered PaaS that runs in your own cloud provider. Porter brings the Heroku experience to Kubernetes without compromising its flexibility. Get started on Porter without the overhead of DevOps and fully customize your infra later when you need to.
Why Porter?
A PaaS that grows with your applications
Traditional PaaS's like Heroku are great at minimizing unnecessary DevOps work but don't offer enough flexibility as your applications scale. Custom network rules, resource constraints, and cost are common reasons developers move their application off Heroku beyond a certain scale.
Porter brings the simplicity of traditional PaaS's to your own cloud provider while preserving the full configurability of Kubernetes. It's built on top of a popular Kubernetes framework called Helm and is compatible with standard Kubernetes management tools like kubectl, preparing your infra for mature DevOps work from day 1.
Features
Basics
- One-click provisioning of a Kubernetes cluster in your own cloud console
- ✅ AWS
- 🚧 GCP
- 🚧 Digital Ocean
- Simple deploy of any Docker image (public or private)
- Heroku-like GUI to monitor application status, logs, and history
- Marketplace for 1-click add-on's (e.g. MongoDB, Redis, PostgreSQL)
- Application rollback to previous deploy versions
- Native CI/CD with buildpacks (Coming Soon)

DevOps Mode
For those who are familiar with Kubernetes and Helm:
- Visualize, deploy and configure Helm charts via the GUI
- User-generated form overlays for managing
values.yaml - In-depth view of releases, including revision histories and component graphs
- Rollback/update of existing releases, including editing of raw
values.yaml - Connect to and manage existing Kubernetes clusters that are not provisioned by Porter

CLI Installation
Mac
Run the following command to grab the latest binary:
{
name=$(curl -s https://api.github.com/repos/porter-dev/porter/releases/latest | grep "browser_download_url.*porter_.*_Darwin_x86_64\.zip" | cut -d ":" -f 2,3 | tr -d \")
name=$(basename $name)
curl -L https://github.com/porter-dev/porter/releases/latest/download/$name --output $name
unzip -a $name
rm $name
}
Then move the file into your bin:
chmod +x ./porter
sudo mv ./porter /usr/local/bin/porter
For Linux and Windows installation, see our Docs.
Getting Started
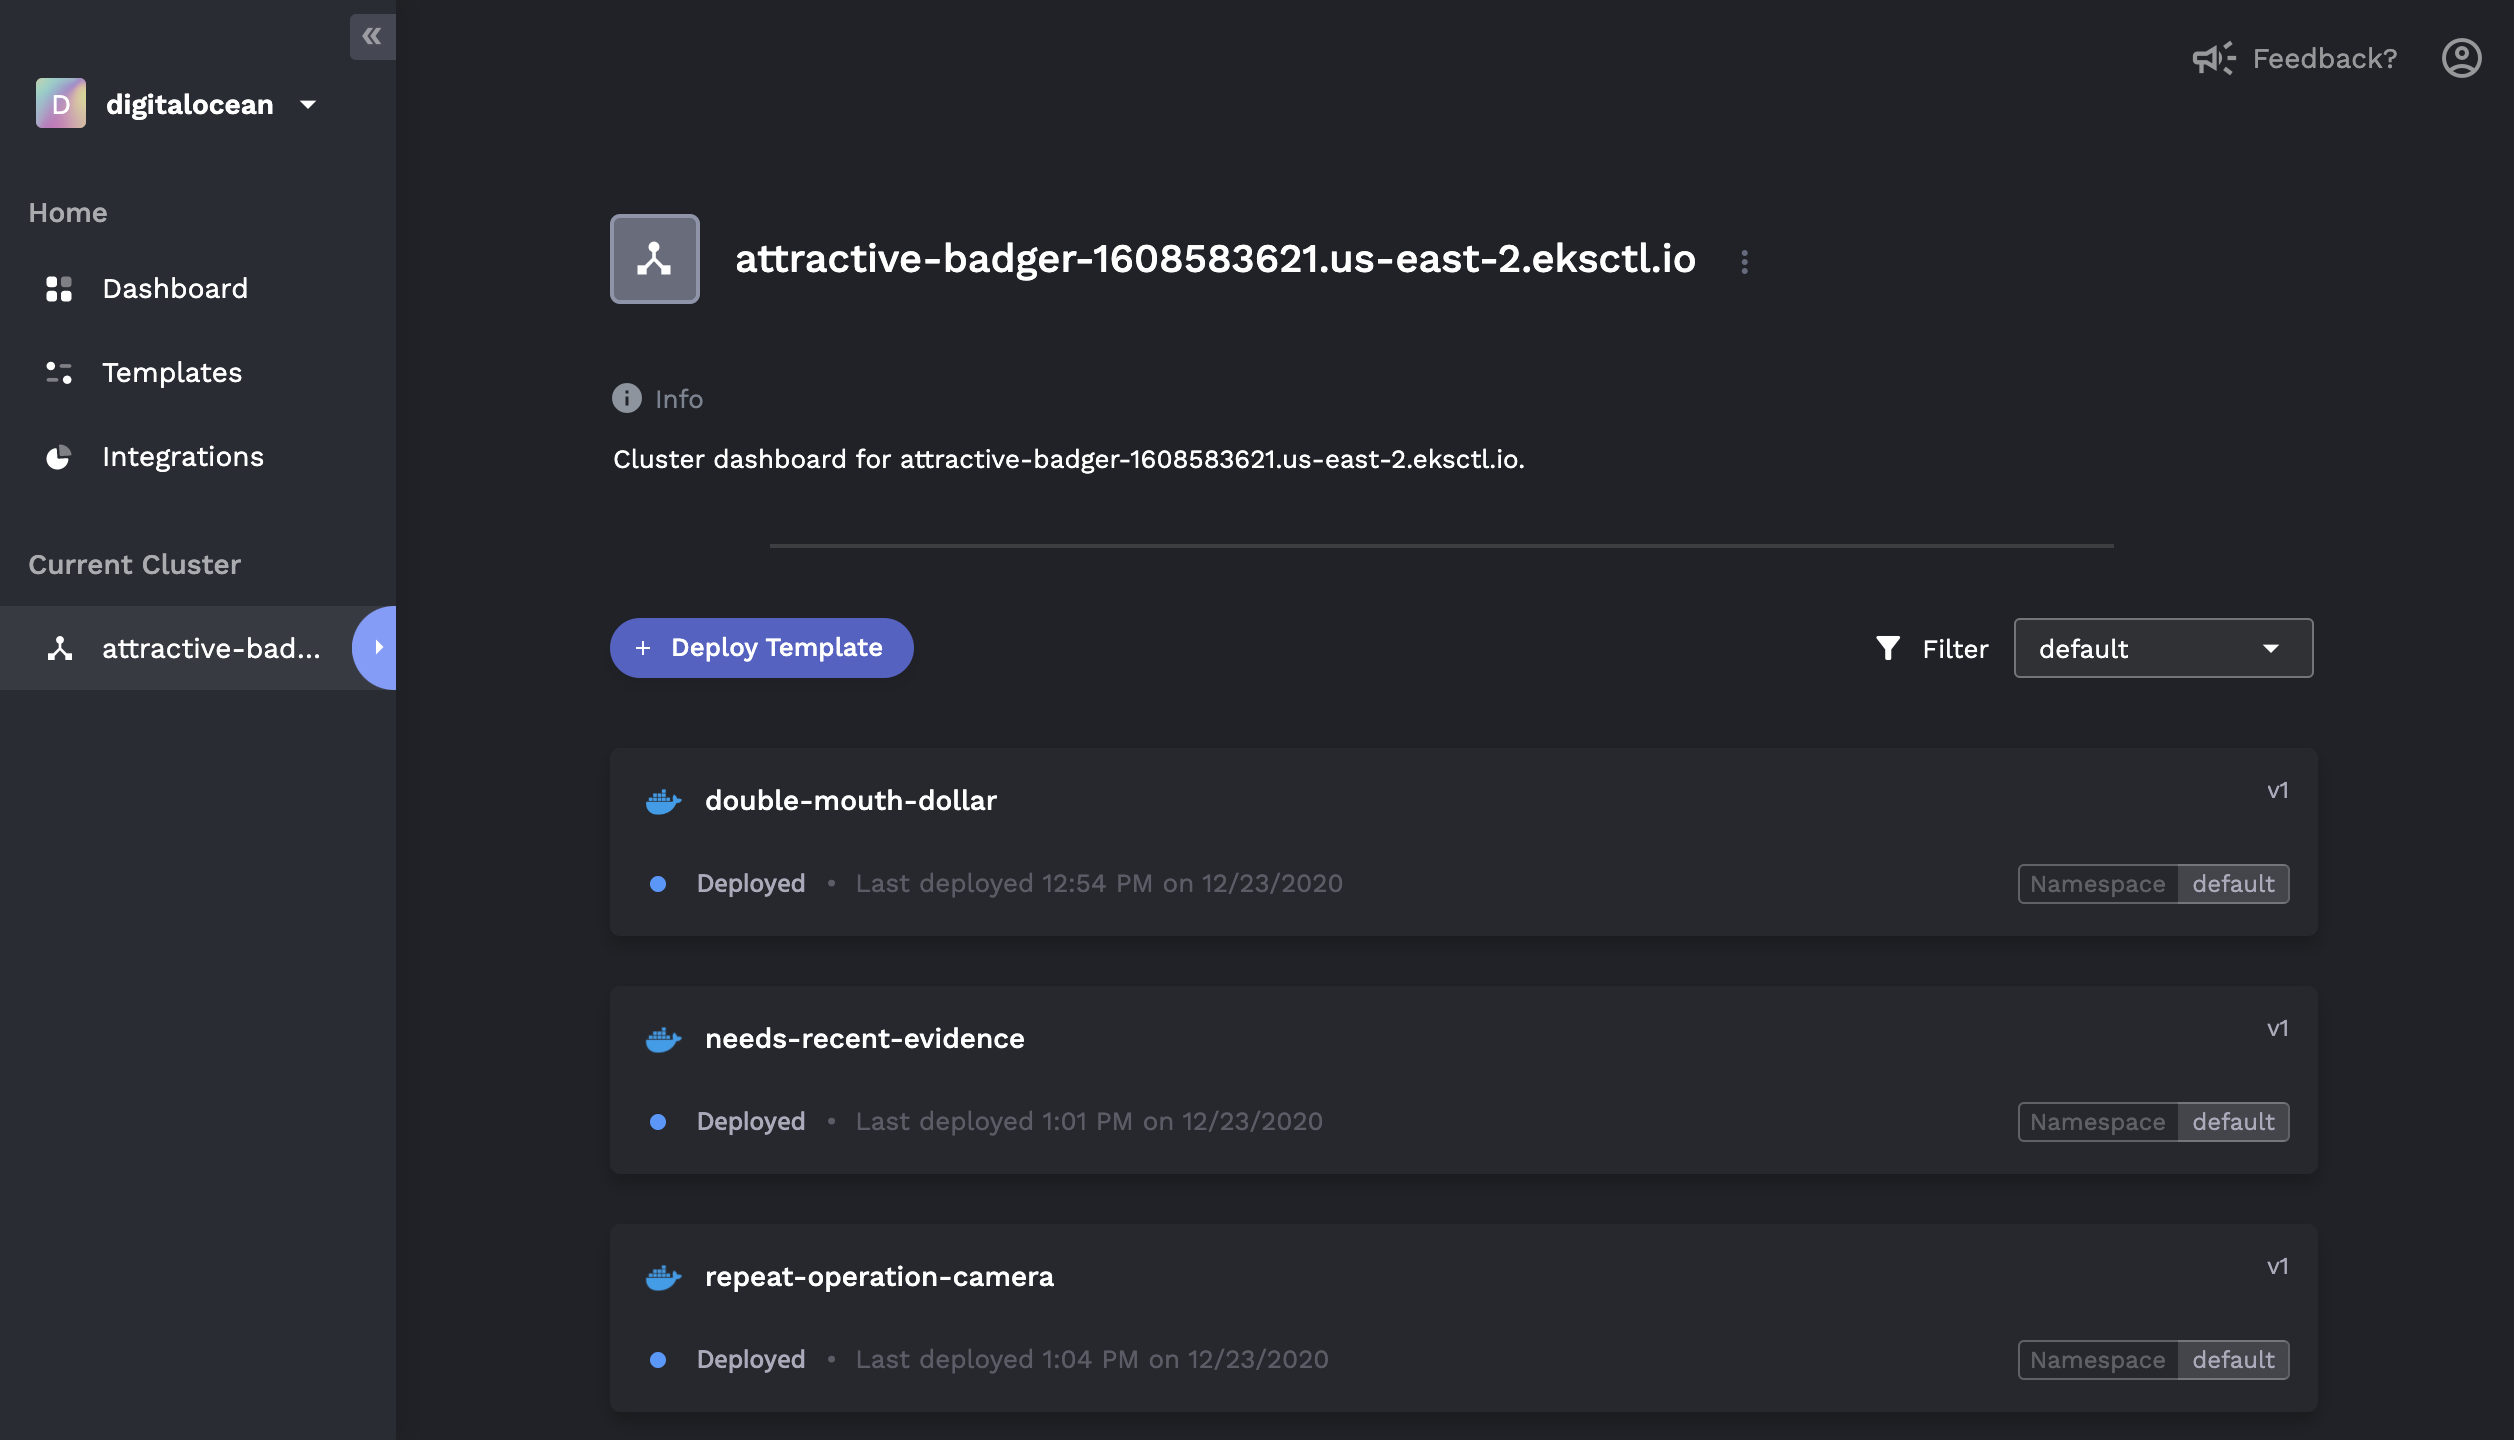
Sign up and log into Porter Dashboard.
Create a Project and select a cloud provider you want to run a Kubernetes cluster in.
Put in your credentials, then Porter will automatically provision a cluster and an image registry in your own cloud account.
Build and push your Docker image to the provisioned registry with the CLI.
From the Templates tab on the Dashboard, select the Docker template. Click on the image you have just pushed, configure the port, then hit deploy.
